WP-PHPUnit Setup with WP-CLI
Minimum Requirements:
- PHP
- MySql Server
- WP CLI
- SVN
Step 1:
Open your terminal and go to your plugin / theme’s root directory
| cd wordpress/wp-content/plugins/<your-plugin>/ |
Run the command:
| wp scaffold plugin-tests <plugin-name> |
This should create
- 2 directories
- bin
- This contains the installing file
- tests
- Contains a bootstrap file and a sample test case file.
- bin
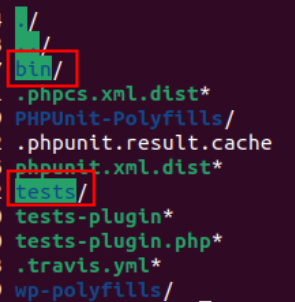
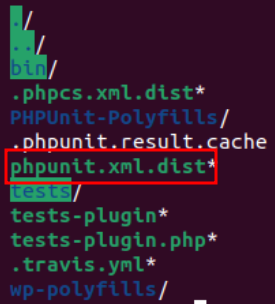
- 1 file
- phpunit.xml.dist
- Used to configure PHPUnit & create test suites
- phpunit.xml.dist
Step 2:
Run bin/install-wp-tests.sh
You need to provide the following arguments for it to to run:
| ./install-wp-tests.sh <db-name> <db-user> <db-pass> [db-host] [wp-version] |
| <db-name> – Name of the test database you created. <db-user> – User of the database. <db-pass> – Password of the Database user. [db-host] – Host of the database (Usually localhost). [wp-version] – WordPress version to download to run the tests. |

This will create test database and create a new WordPress installing in /tmp
Note: For Local by flywheel user you need to edit the ./install-wp-test.php to make it work with WPLocal’s DB, basically adding full –user & –password parameters to make it compatible with WPLocal site shell.
Make the following changes
Take pictures / line numbers as references
Change 1:
In recreate_db() function
Replace with
| mysqladmin drop $DB_NAME -f –user=”$DB_USER” –password=”$DB_PASS”$EXTRA |
Change 2:

In create_db() function
Replace with
| mysqladmin create $DB_NAME –user=”$DB_USER” –password=”$DB_PASS”$EXTRA |
Change 3:
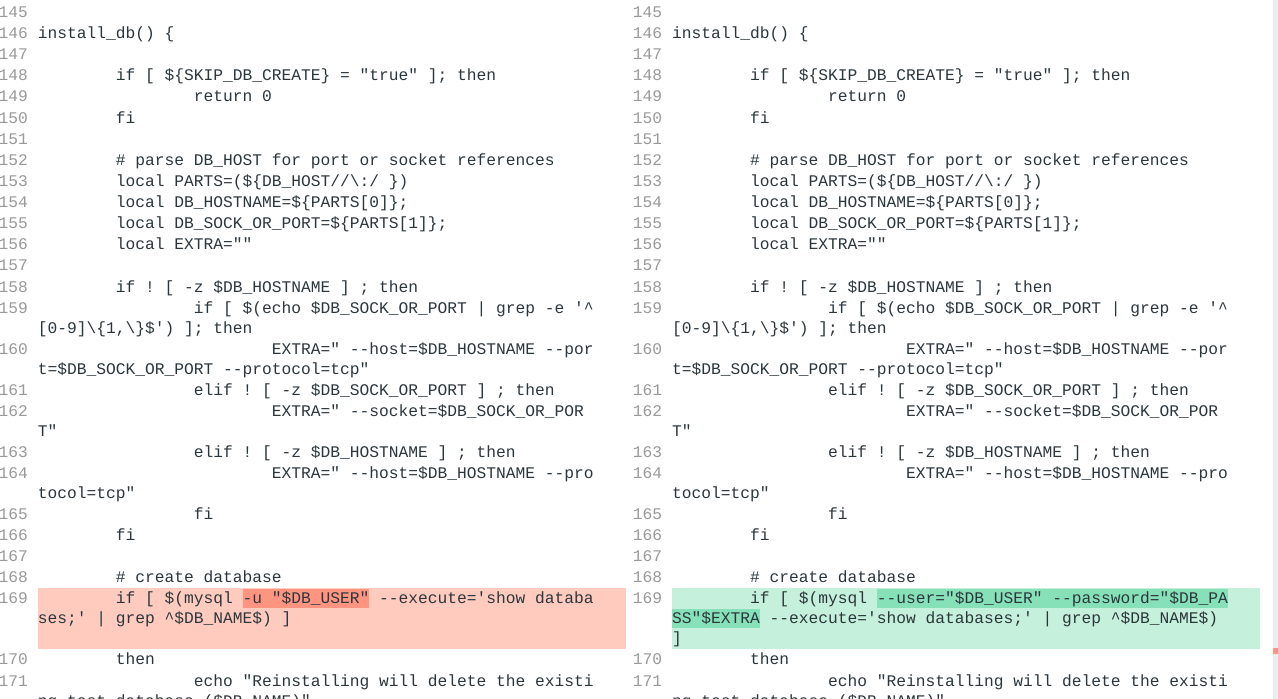
In install_db() function
Replace with
| mysql –user=”$DB_USER” –password=”$DB_PASS”$EXTRA –execute=’show databases;’ | grep ^$DB_NAMES |
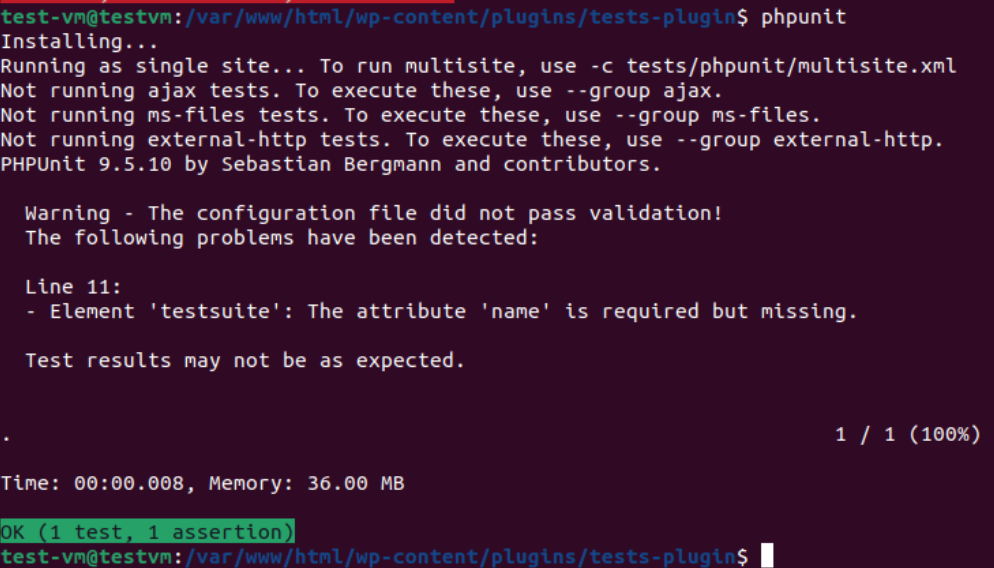
Step 3:
Run in plugin root:
| phpunit |
Output: